Earlier this year I finished up a cover art commission for one of my favourite clients, Grace Draven, for her novella The Brush of Black Wings. This book is the sequel to Master of Crows, (which I also illustrated) and my third cover for Grace's exceptional books. As I did with Entreat Me, I thought I'd share the steps of how a book cover comes together!
As I was already familiar with the characters and had a ton of reference still on hand from Master of Crows, I felt like I had a head start on this one. Grace sent me the first chapter of The Brush of Black Wings which contained the scene she wanted to appear on the cover, plus a lot of reference material she'd gathered to inspire her writing. The essentials: a cold winter forest scene, a protective, romantic couple clinch, and the distinctive crimson cloak belonging to the male protagonist, Silhara. Grace also floated the idea of having the antagonist's face looming in the background, Hollywood poster-style, but we agreed this made the cover too busy.
Despite having half the research already done for me, the idea development process is the same - start with thumbnails.

Since I'll be handling the typography for the cover as well, I start thinking about the placement from the beginnng, and experimenting a little with fonts but (as with the sketching) I don't spend too much time on details. I just want to plan ahead so I don't end up with an amazing painting and nowhere to put the text.
I try a few variations on the classic romance novel couple pose. A forest setting provides the obvious opportunity to frame the characters with branches but I also played with the idea of placing the couple high up on hills, to echo the cover for Master of Crows. In the end, Grace preferred the first thumbnail with some adjustments to the characters' pose. We needed to lose the bare shoulders on the woman, Martise, (which was another nod back to the first cover - but fair enough, it wasn't winter then!) .I could also go ahead and get rid of his hood, as she wasn't too concerned with hiding the character's faces for this cover.
I make the requested adjustments and send back a modified sketch. You're really getting to see how loose and ugly my early work is here! I'm focusing on general shapes and value and leaving the wonky anatomy and details to be fixed later. The crows in the background are actually a copy & paste from the original Master of Crows cover.

Sketch approved, I start working in some colour on an Overlay layer over my sketch. I add deep blues and purplish reds, and I use quite saturated colours to start. This is because I know as I add layers of detail, the colours will lose their intensity. If I start out trying to paint in pale winter greys and blues, I'll wind up with a dull grey mud. If I start by throwing a lot of rich colour in there, the vibrancy will shine through and I'll have lots of lovely subtle, varied hues in the snow and ice.
Now, here's where I screw up massively, right in the first WIP image - I dive into working out the skin tones before doing a thing to fix my dodgy sketch, and I get carried away painting the faces. It's a really bad way to work - not to mention tough - to paint a whole head and then try to attach a body to it later and get it to look natural. It's an especially bad idea to try it with two figures! I should have worked out the poses in full before getting into the details. I'll be wrestling with getting their poses just right for the entire painting.


It's also a lot harder to make changes to something you're attached to. I realise that while I'm really happy with Martise's face, the angle and expression don't fit with the mood of the original sketch and I can't get her pose to feel natural with her head tilted this way. So I have to almost paint over her face almost entirely to get it looking right.

Once I'm happier with the figures, I start adding detail again; working out Silhara's features and having fun with one of my favourite subjects - long flowing hair! I don't want Martise to look drab and washed out next to Silhara's bright robes, so I add lots of rich colour variations - golds and purples in her hair, blues and greens in her cloak - to make the browns more interesting.

When I'm close to happy with the figures it's time to start working on the background more. I know I don't want anything overly detailed so the figures remain in focus. I also know I'm no longer happy with how cold and bright the background is - it's too harsh. My lightest tones are also at the top of the canvas which is drawing too much attention.
The scene I'm referencing is early morning, so I want to suggest that soft, misty warmth. I start by toning the brightness way down and placing the light source low down behind the characters, warming it up from blue to a rose gold. This also helps create more contrast around the characters' heads to help draw the viewer's eye.

I put together a little process GIF of how I built up the forest from there on.

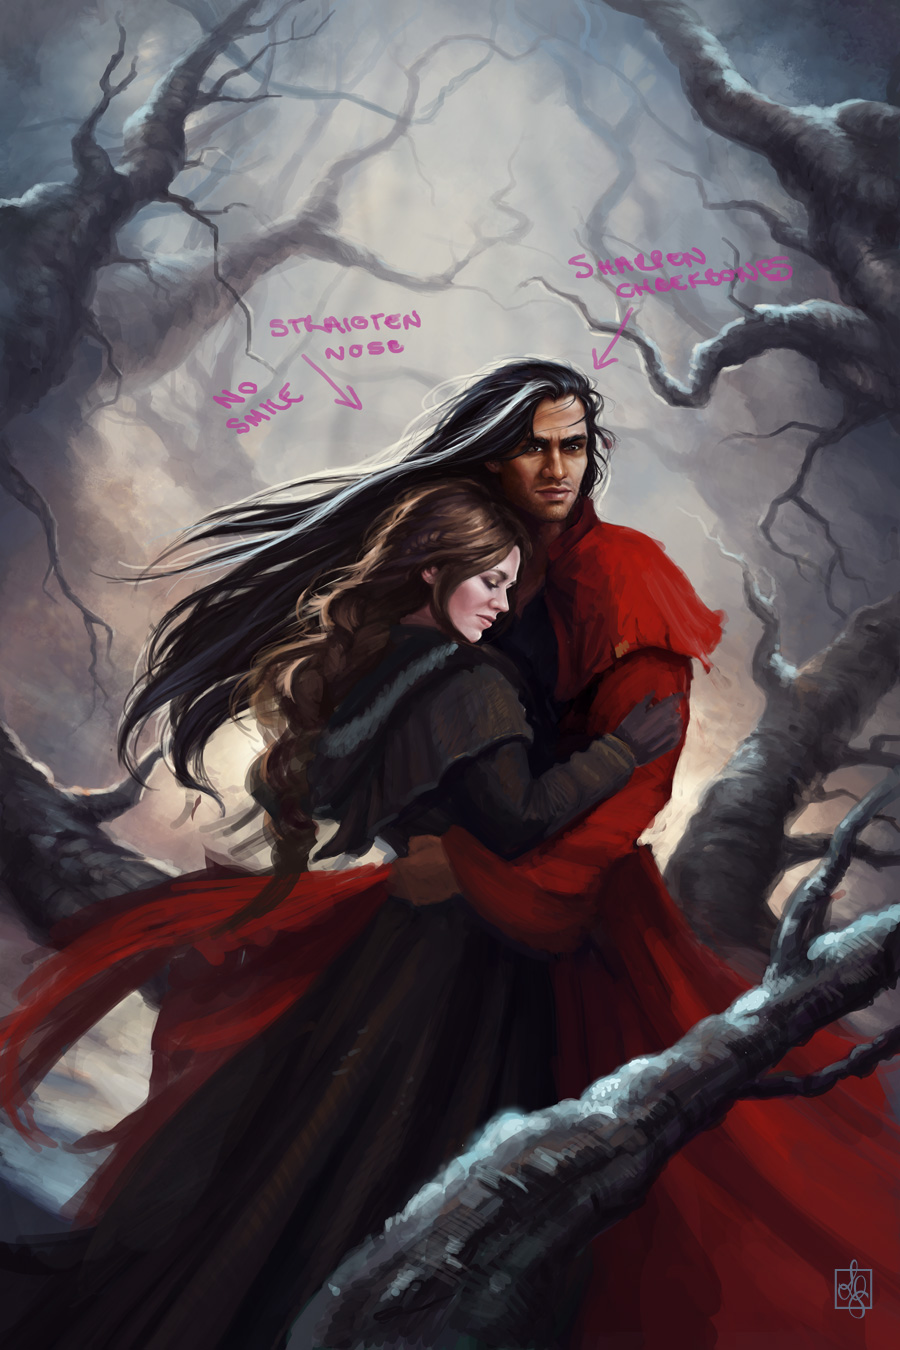
At this point I check in with Grace again and get some notes on the characters' appearances, which I tend to scrawl on my canvas in a fetching hot pink so I don't forget any. I continue to work on refining the background and the characters' clothing, and adding details. With some new references for Silhara from Grace, I make some major changes to his face and hair.

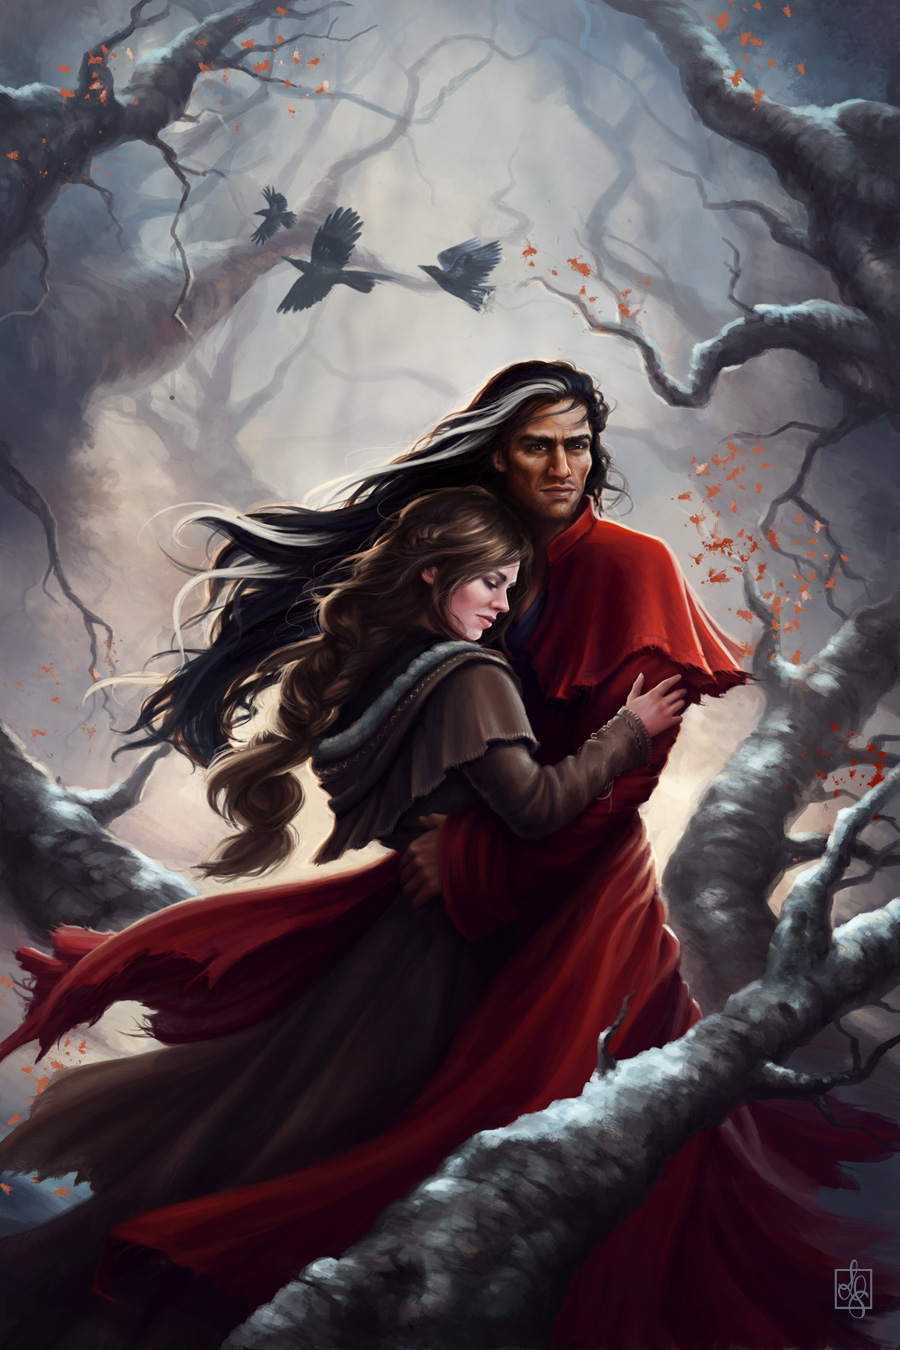
At this point I'm nearly done. I have a layer of tiny leaves that I've had turned off for most of the painting, except for when I send previews to Grace. I scribbled them in loosely early on with a random scatter brush, and now I just want to zoom in and refine them a bit.
Er, hang on. Those are not leaves. Are those flies?

Yep, those are flies. Yes, they've been there the whole time. Note to self: pay closer attention to those cool Photoshop brushes you keep downloading.
I fix my creepy crawly "leaves" (seriously, never living that one down)and add a few blowing in the wind, painted the crows, and added a little blur to the foremost branch to create some depth. It also makes the text on top a bit easier to read when I add it back in - which I do.
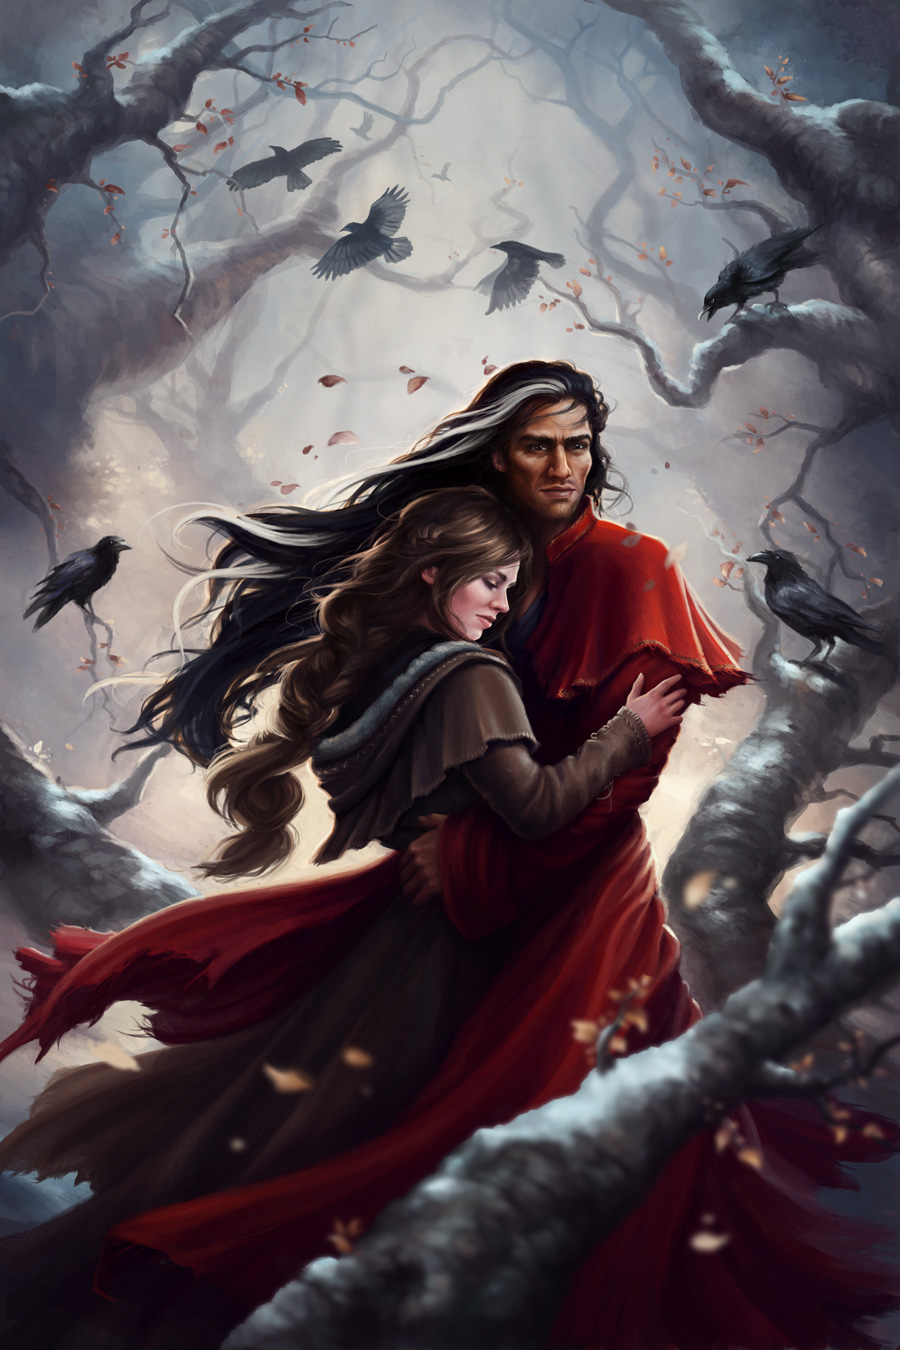
And done!

The Brush of Black Wings is available on Amazon and Smashwords and is a great read. Grace's books are always a blast to illustrate. You can also purchase this artwork as a print, a tote, a laptop skin and more over on my Society 6 page.
I've been taking more care to note down my thoughts & process as I work on new things so I can share it all later, so let me know in the comments if you have any questions or suggestions for future posts!